Now that it is springtime, I have been (ok, my handyman has been) very busy making a few additions to my house. One of the first things on the list was to level out my backyard space. When the sellers replaced the water/sewer line to the street, they did not extend the pipe (and, the drain) to its original location in the center of the patio. Instead, they placed the drain in the corner where the walkway meets the large part of the patio. By doing this, the sellers sloped the patio so that the water would run down into the drain. That's fine, but the slope was such that I could only put my table and chairs in a certain location and the grill, which was placed at the most level part, was not level either. Hot dogs had to be placed a certain way so they didn't roll off the grill.
I spoke with my handyman about leveling and putting in pavers. He thought that would be more hassle than it was worth and suggested leveling the patio by adding a wooden platform/floor. This would allow any water to continue to flow toward the drain w/o all the hassles of digging up the back and messing w/ my a/c unit. The idea was to have the wooden planks flush against the highest part of the patio and then on pillars, or whatever they are, where it is above the current grade.
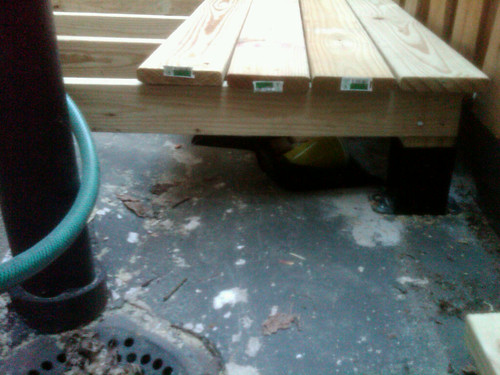
Below are 2 progress pictures where you can see how the 2x4s were placed and how high the platform is at the deepest part of the patio by the drain. Sorry for the poor picture quality. The camera on my blackberry is shot from being tossed around in my purse.
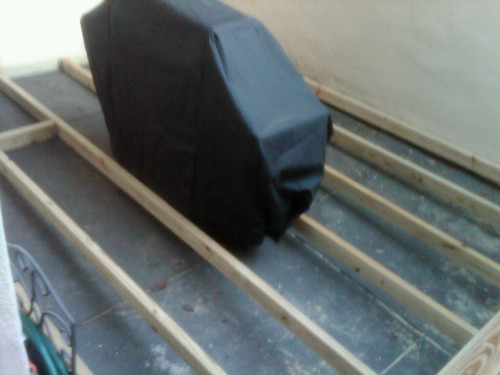
In the picture above, you can see how the beams are flush against the far side of the patio. However, in the picture below, you can see just how sloped the patio was.
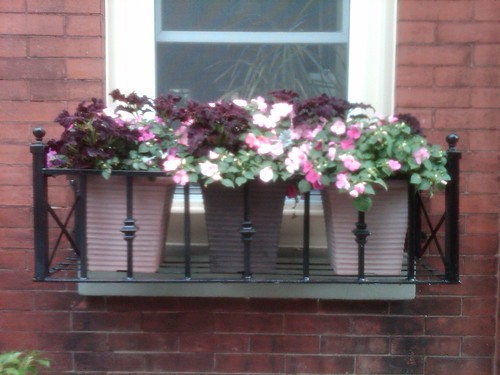
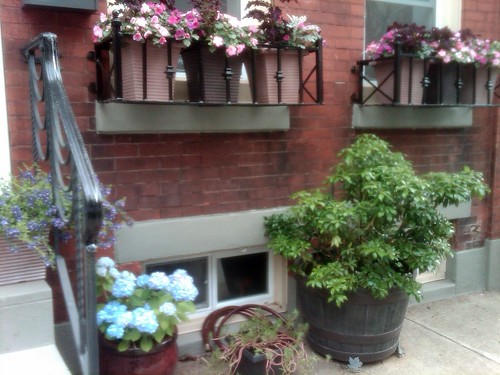
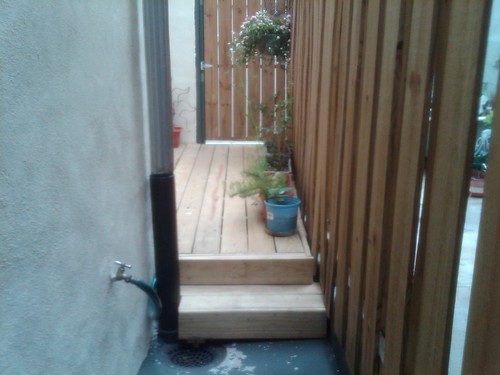
The platform/deck was finished a couple weeks ago and I am sooooooo happy! How great it is to sit at my table in the middle of the patio! I could not do that before w/o wobbling. My plants are also no longer sloped. It is so nice!
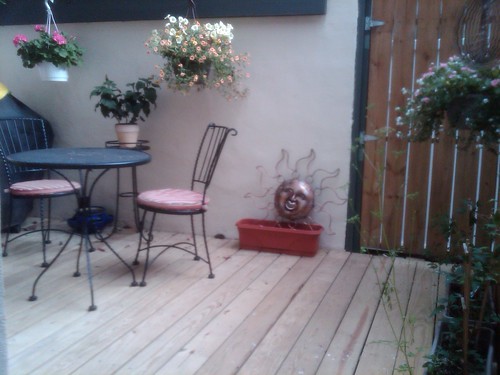
The next step will be to add some planters and/or a bench w/ storage. We'll talk more about this in the next couple weeks. Once those are added, we plan to stain the whole thing to match the wood coloring on the fence. I was also thinking it would be cool to add a partial percola, but I'm not sure if that would work. It might block some of the sun coming in my windows, and I don't want that.
It is so nice to site out there now. My neighbor, who actually grew up in my house, has already told me that she is jealous and wants one for herself.
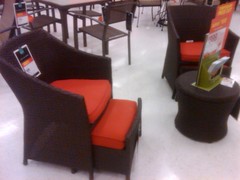
For now, I'll stick w/ the little bistro table and chair set I found on craigslist last year. Next year, I'll buy something different, maybe a little table w/ an umbrella? I was eyeing a cute little set at Target, but not sure if it's in the cards to purchase this year.